Documentation Index
Fetch the complete documentation index at: https://docs.scanoss.com/llms.txt
Use this file to discover all available pages before exploring further.
Installation
macOS / Linux:
Windows (PowerShell as Administrator):
Verify Installation
After installation, verify the CLI is available:Configuration
Verify Your Configuration
To confirm your API key is properly configured, check the settings file that scanoss-cc automatically creates in your home directory. The tool stores its configuration in~/.scanoss/scanoss-cc-settings.json.
You can view this file to verify your API credentials:
Getting Started
Launch the desktop application:GUI Workflow
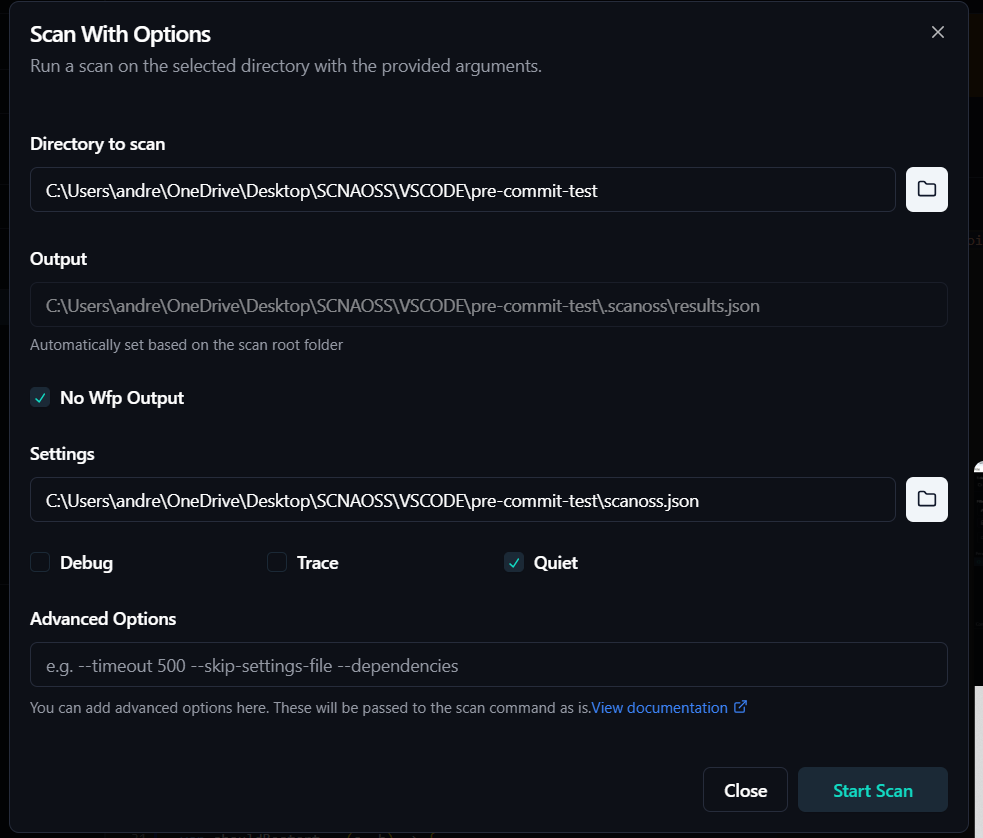
- Start Scan: Click Run a new scan, select your project or file and configure the scan settings.
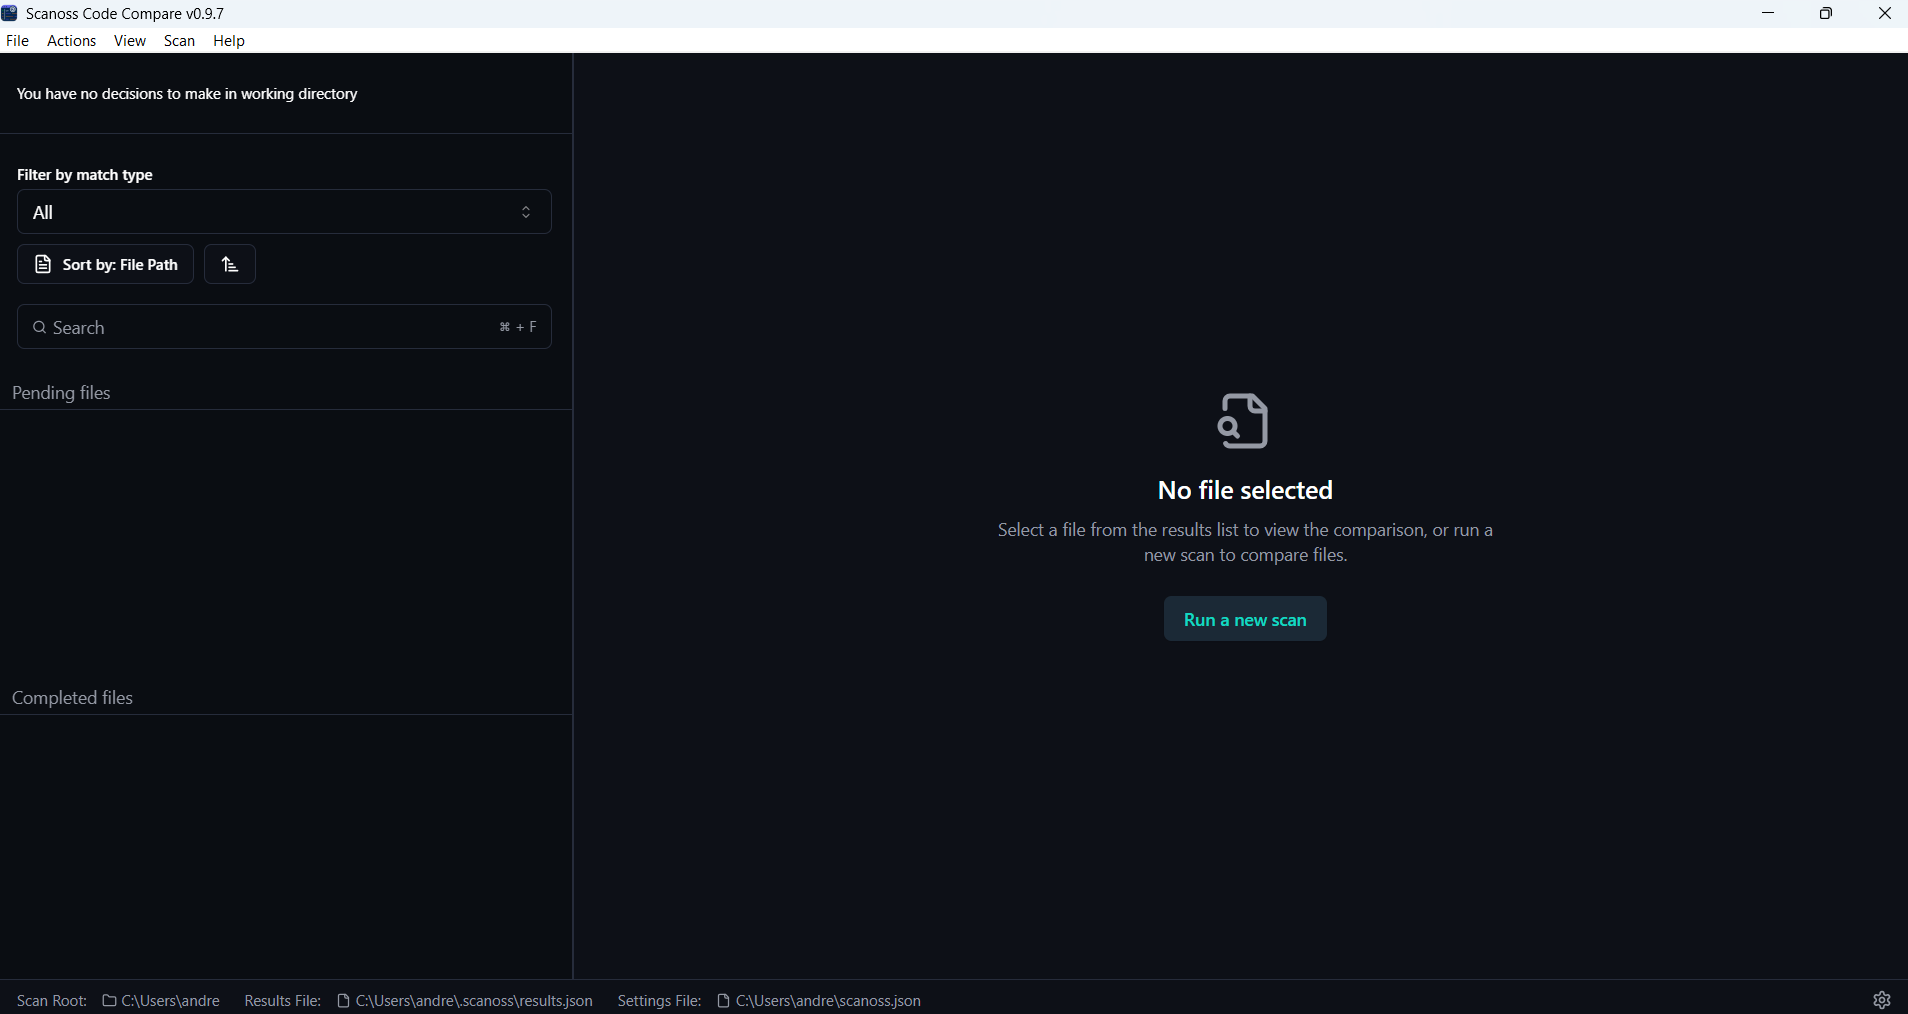
- Review Results: View side-by-side code comparisons with match details.
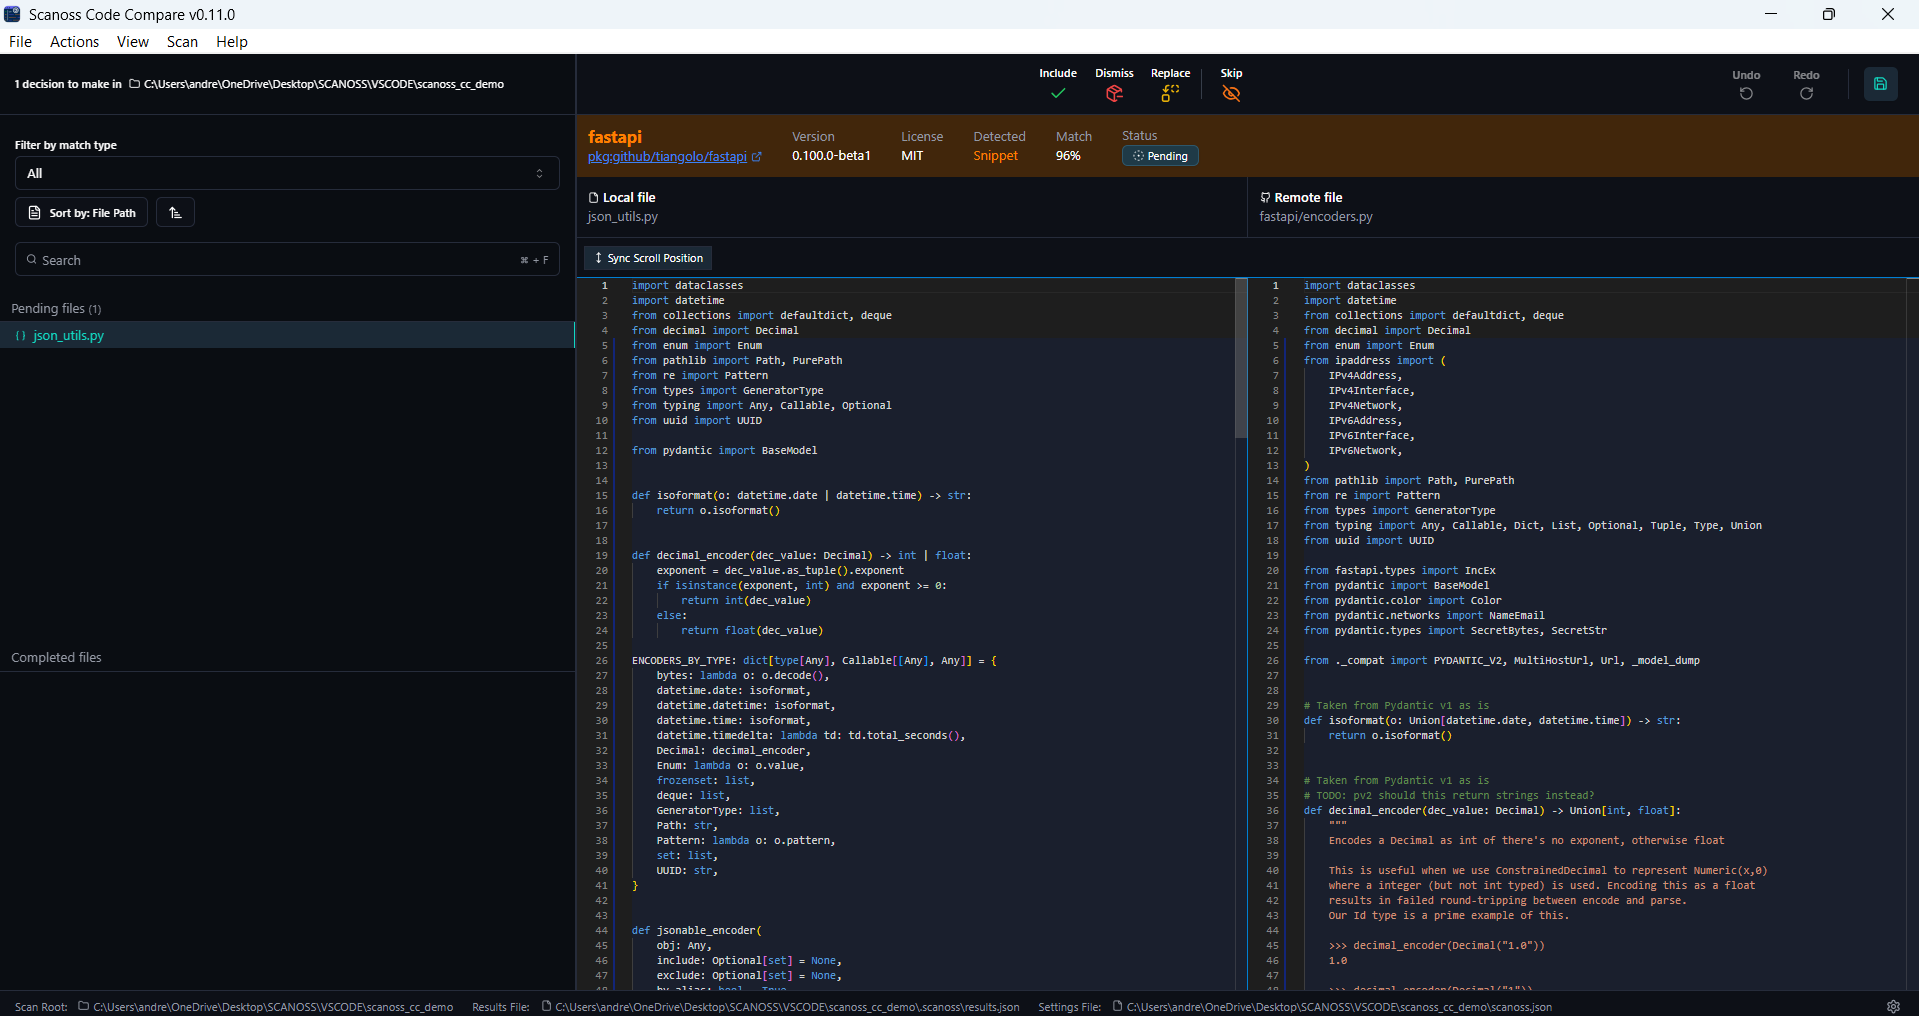
-
Make Decisions: Use the modal at the top of the dashboard to include, dismiss, replace or skip findings.
You can apply actions to:
- Individual files: Make decisions on specific file matches
- Entire folders: Apply the same action to all files within a folder in one go
- Components: Handle all instances of a component across your project
- Include: Add them to your project’s dependencies or documentation
- Dismiss: Document why they were dismissed for future reference
- Replace: Implement the replacement or create a task to address it
- Skip: Defer the decision for later review without taking immediate action
- Persist Decisions: Your decisions are automatically saved to
scanoss.jsonat your project root and persist across future scans.