Installation
- Visit SBOM Workbench releases
- Download the installer for your platform:
- macOS:
.dmgfile - Windows:
.exeinstaller - Linux:
.AppImageor.debpackage
- macOS:
- Run the installer and follow the on-screen instructions
Getting Started
Configure API Settings
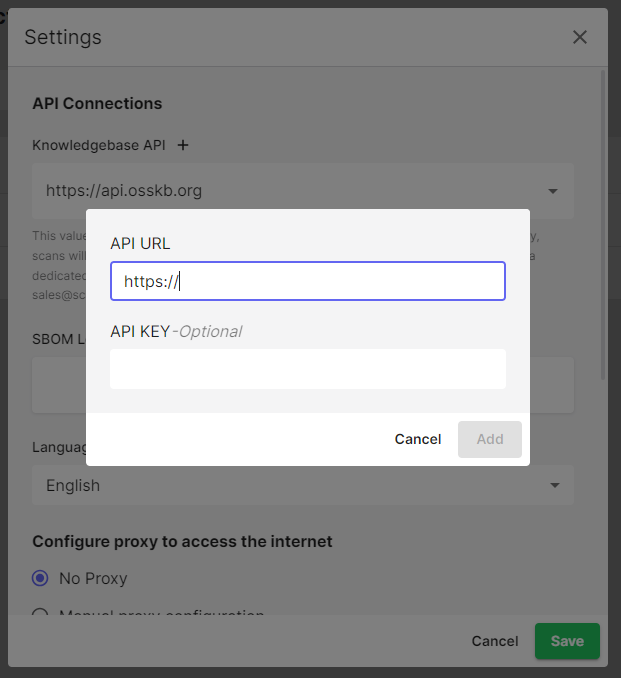
Before scanning, configure your SCANOSS API connection:- Open SBOM Workbench
- Go to File → Settings
- Click on
+after Knowledgebase API - Enter your API details:
- API URL: Default is
https://api.osskb.org(free tier) - API Key: Optional for free tier, required for premium features
- API URL: Default is
Create or Import a Project
Click the dropdown menu next to New Project in the Home tab to see four options: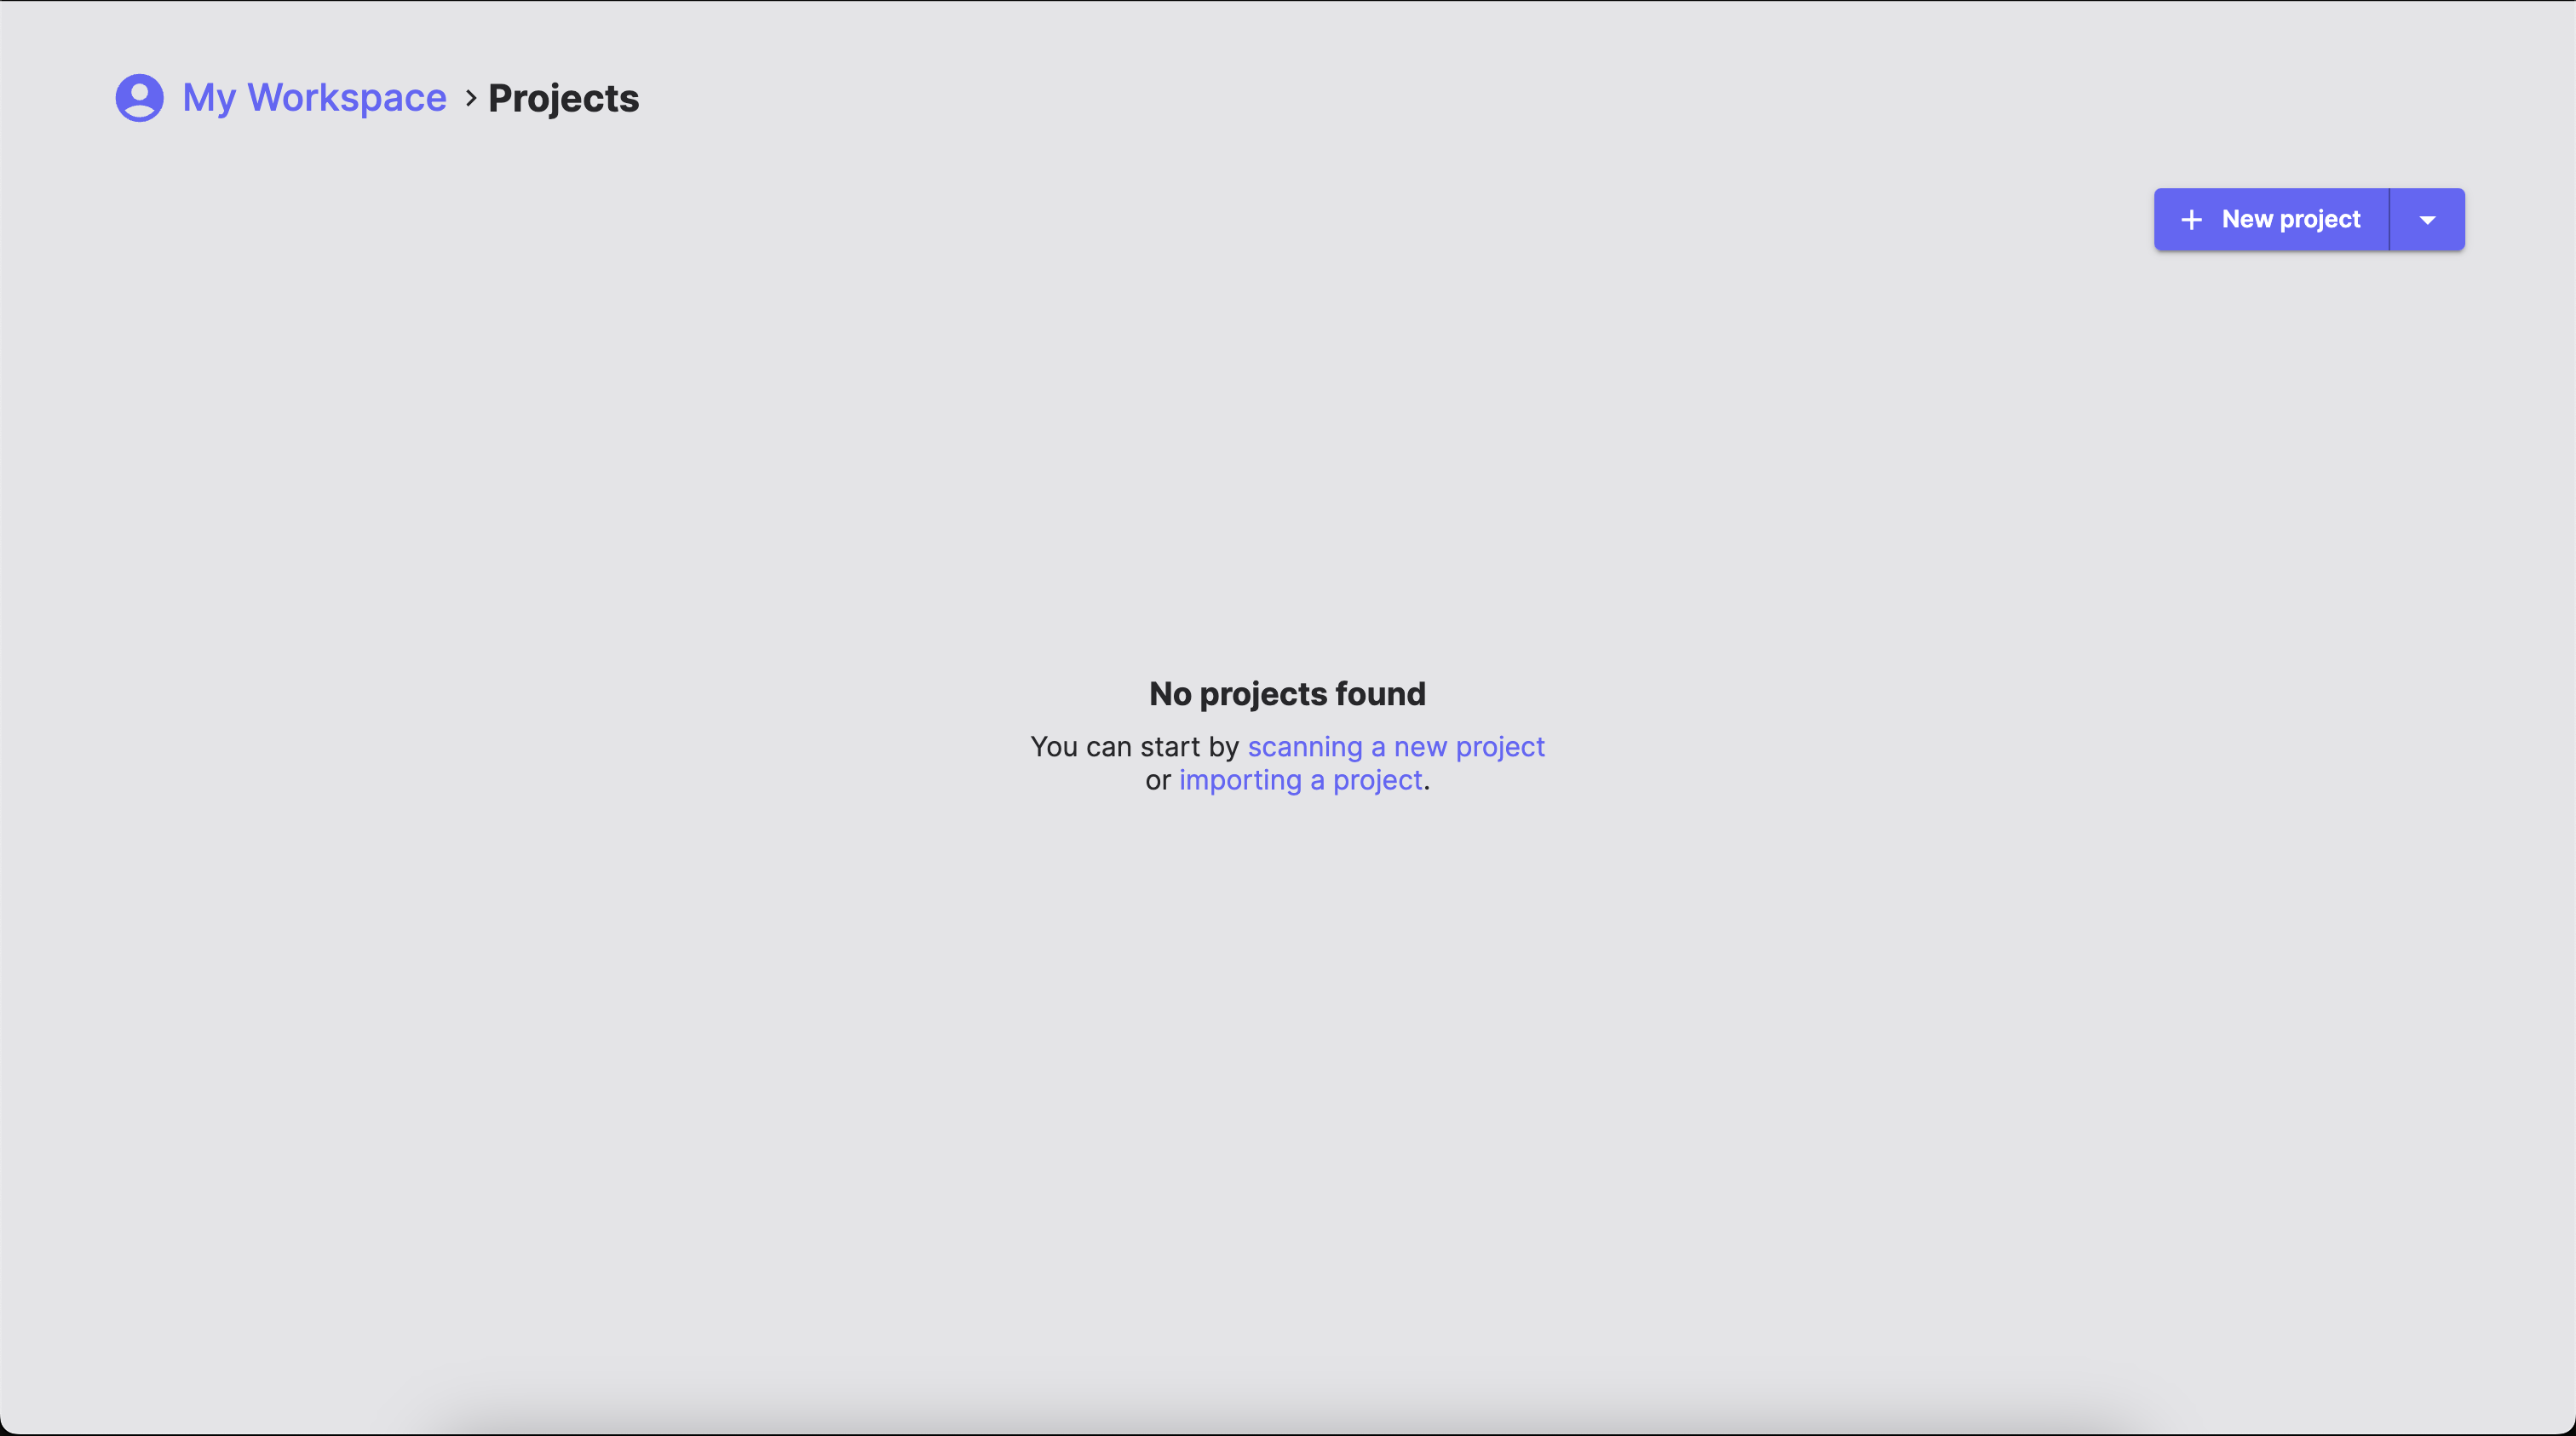
New Project
Start a fresh scan of your source code repository:- Click New Project
- Browse and select your project folder
- The Workbench will scan and fingerprint all files
- Configure project Settings
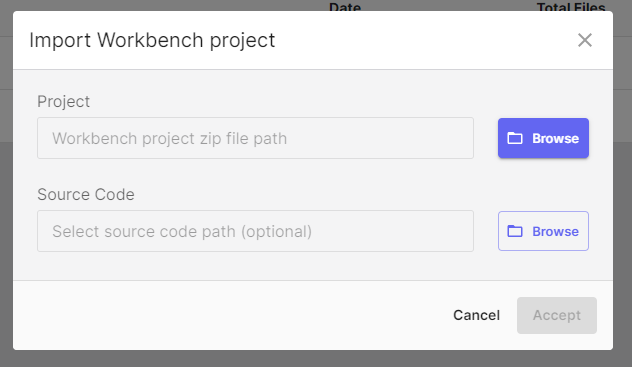
Import Workbench Project
Load a previously saved SBOM Workbench project:- Click the arrow next to New Project
- Select Import Workbench Project
- Browse the
.zipfile - Project loads with all previous work, identifications and decisions intact
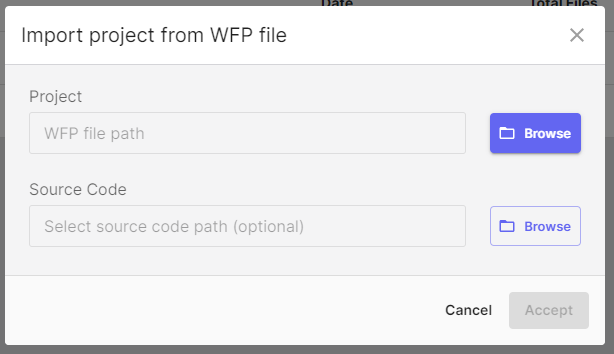
Import from WFP
Import from a pre-generated fingerprint file:- Click the arrow next to New Project
- Select Import from WFP
- Choose your
.wfpfingerprint file - The Workbench will scan the fingerprints against the SCANOSS API
Import from Raw Results File
Import existing SCANOSS scan results:- Click the arrow next to New Project
- Select Import from Raw Results File
- Choose your
results.jsonscan results file - The Workbench loads the results directly without rescanning

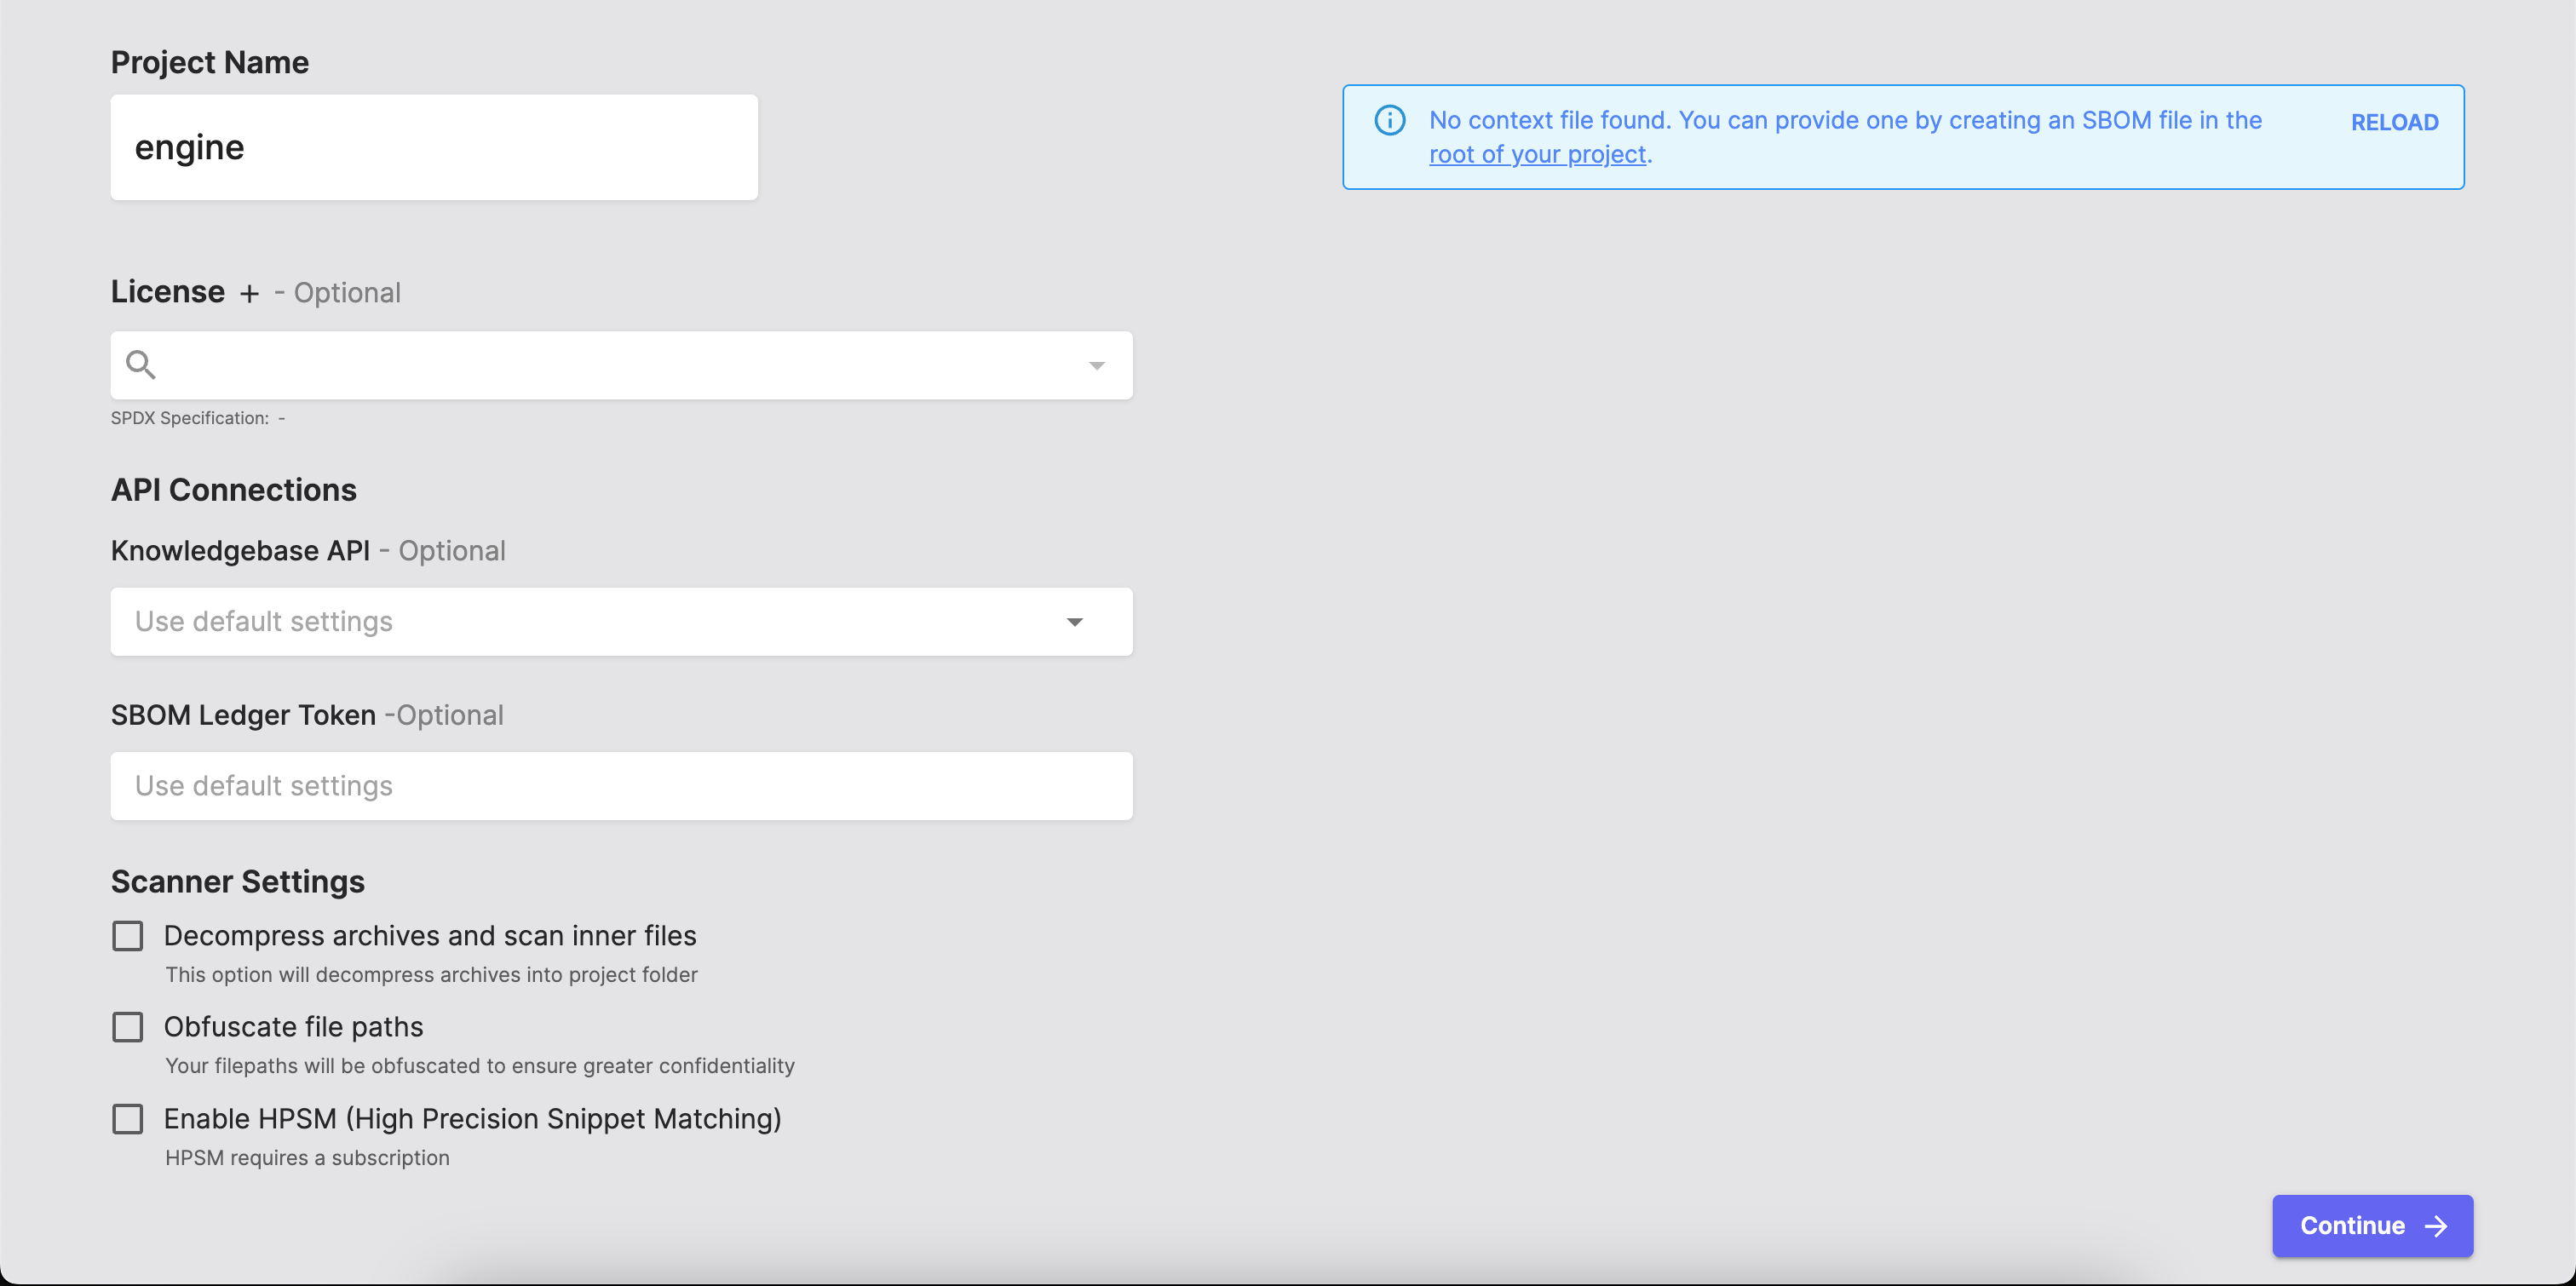
Project Settings
After selecting New Project, configure your scan settings:- Give your project a descriptive, meaningful name
- Set the default license for your project
- Configure your SCANOSS API access
- Integrate with SBOM Ledger for advanced tracking
- Decompress Archives and Scan Inner Files
- Obfuscate File Paths
- Enable HPSM (High Precision Snippet Matching)
Configuration File
At the top right of the Project Settings screen, you might see:scanoss.json file provides advanced configuration for:
- Declaring known components (SBOM)
- Ignoring specific files or paths
- Setting file-level policies
- Pre-approved component versions
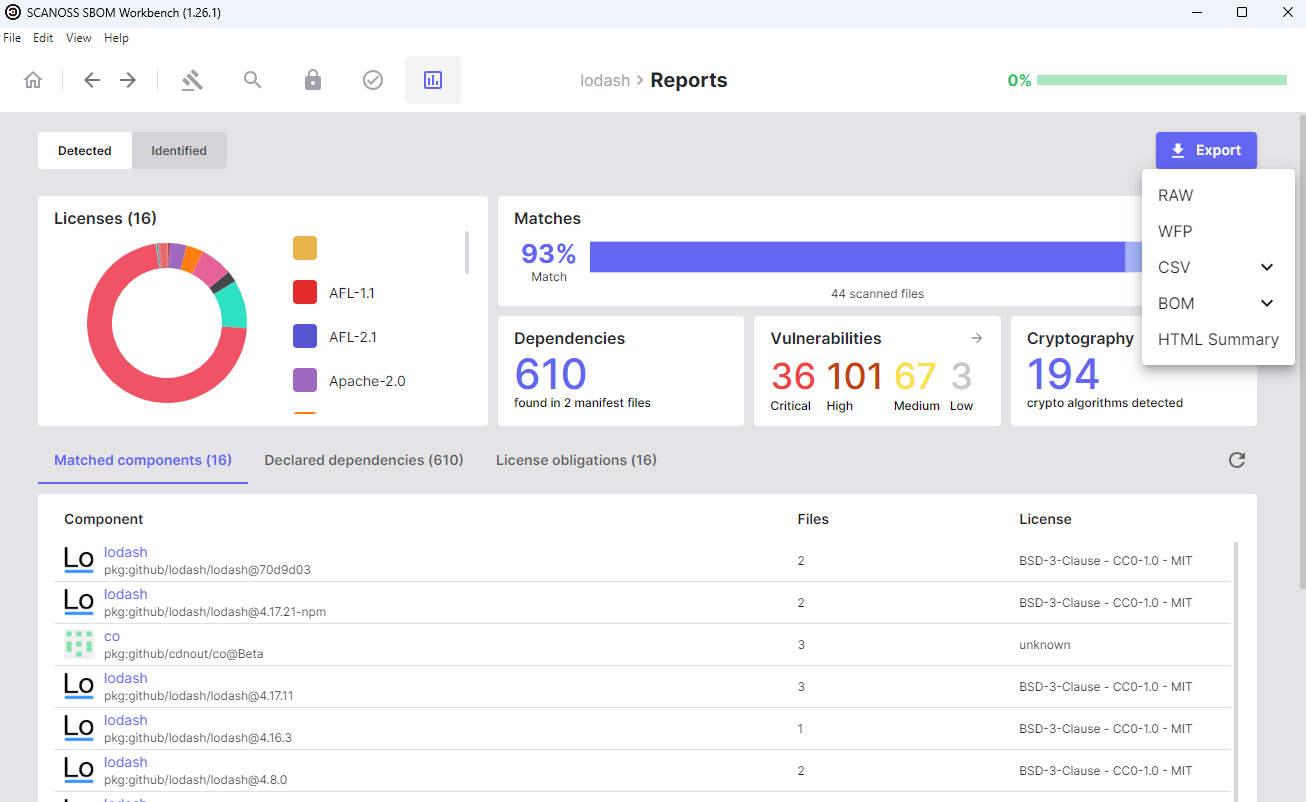
Analysing Results
The scan will automatically begin once you click Continue. This will present a comprehensive overview. The Reports tab provides details on detected components, licenses, dependencies and vulnerabilities.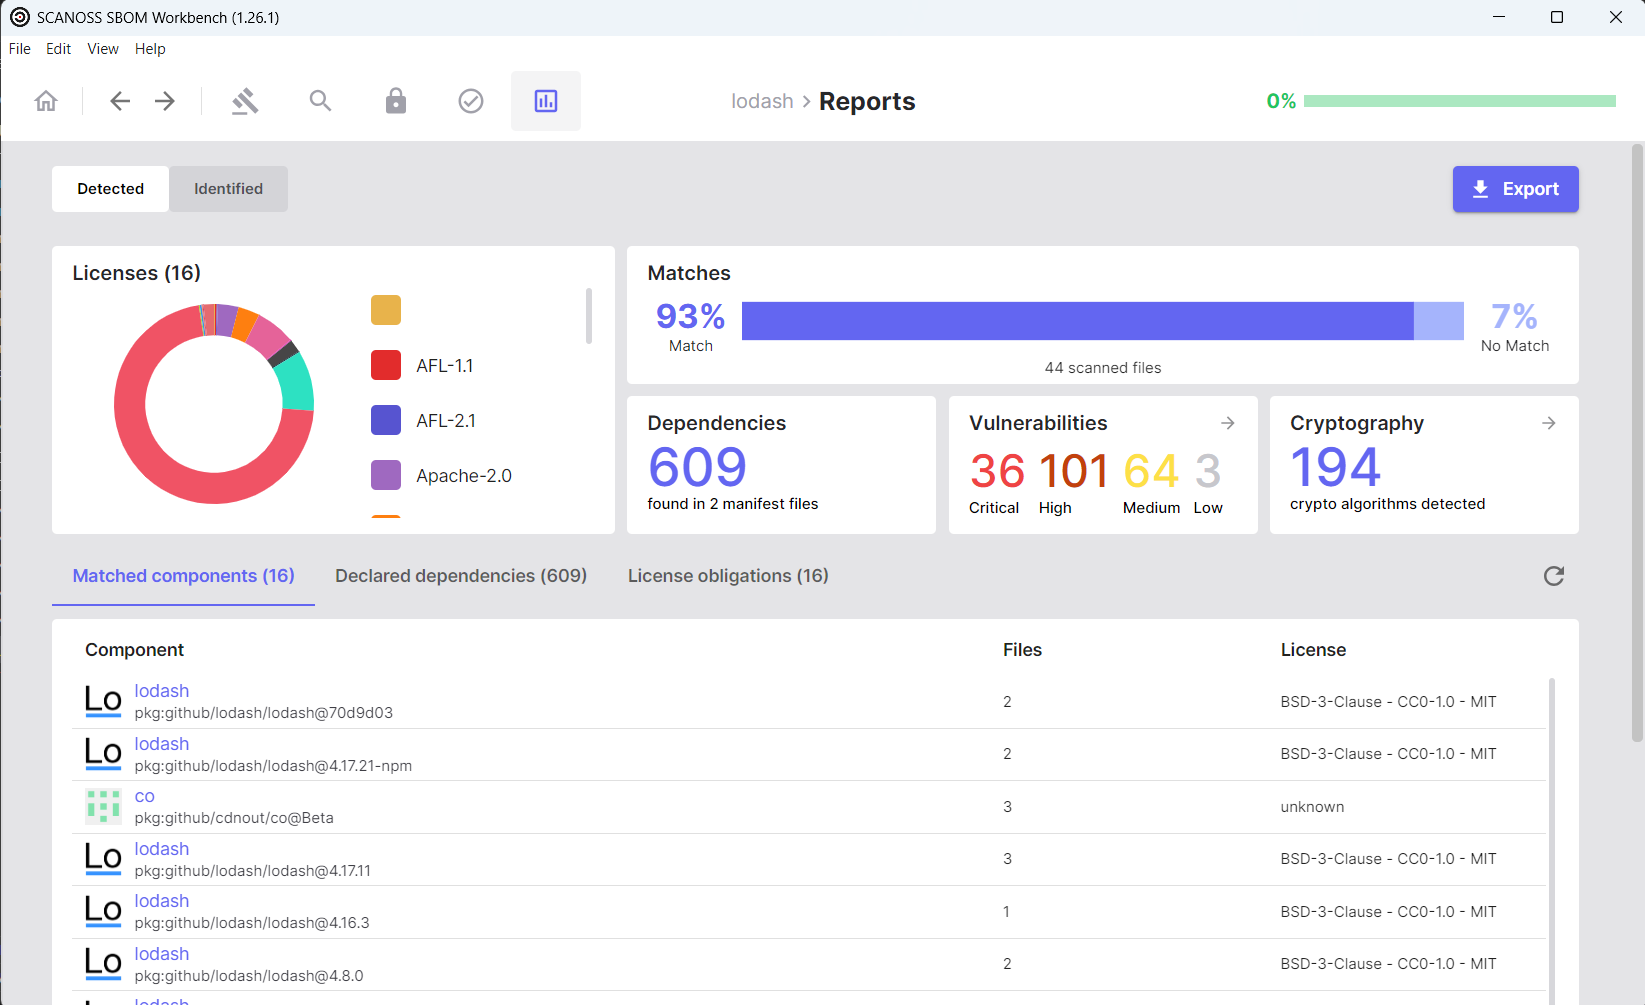
Exporting SBOMs
- Click the Export button
- Select your desired format